How to Make an Audio Waveform Keychain
This workflow turns a short audio moment into a printable keychain. Start with a base shape, import or record audio, tune the waveform until it looks right, then export an STL and print it.
Before You Start
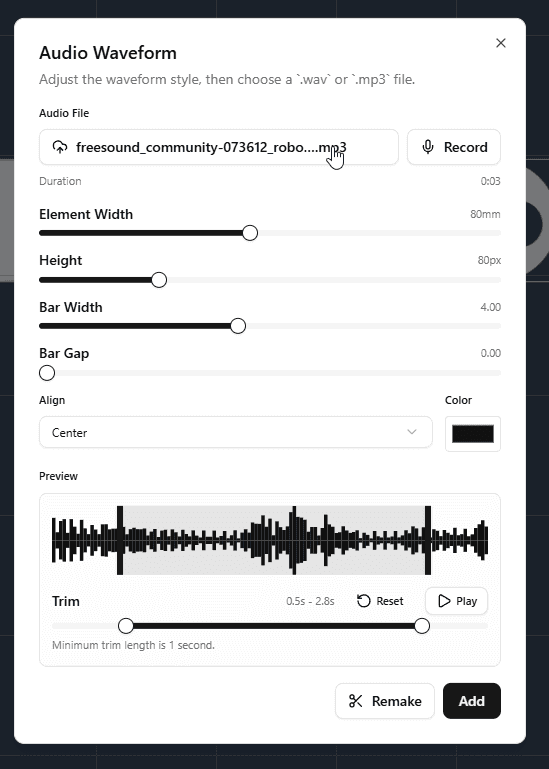
The audio waveform tool supports two inputs: you can import an audio file or record directly in the browser. From there, you can adjust the visual style with settings like Element Width, Height, Bar Width, Bar Gap, alignment, and color.
The goal is simple: keep tweaking the waveform until the shape feels clean and recognizable, then use Remake to regenerate the preview from your current settings.
In the current editor, the enforced minimum trim length is 1 second. For best physical results, keep clips short, usually around 1 to 4 seconds. The tool also accepts .wav, .mp3, and .webm files.
Step 1: Create the Base
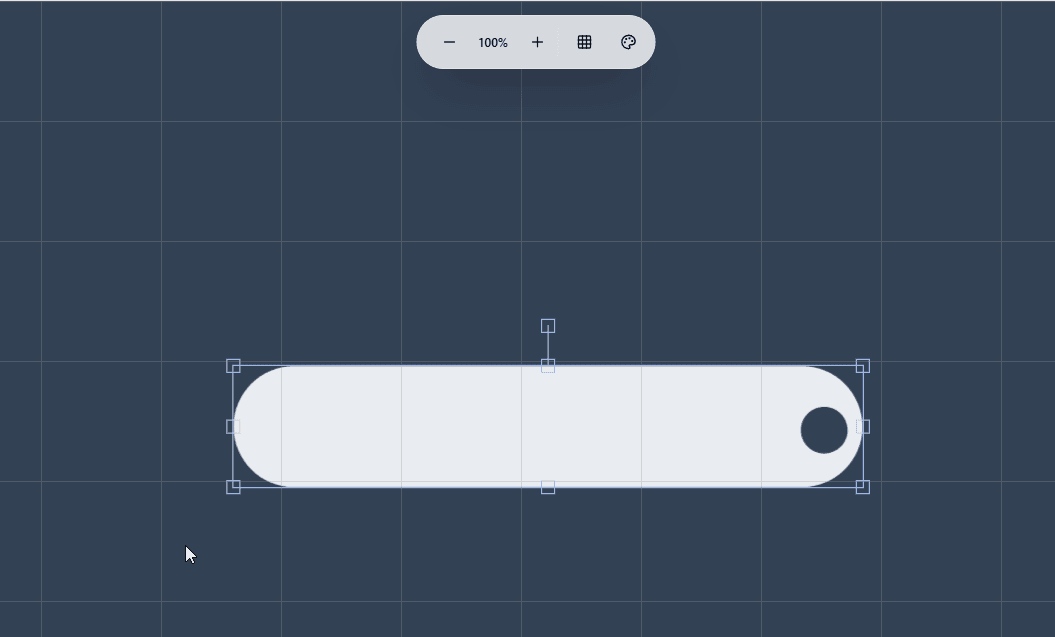
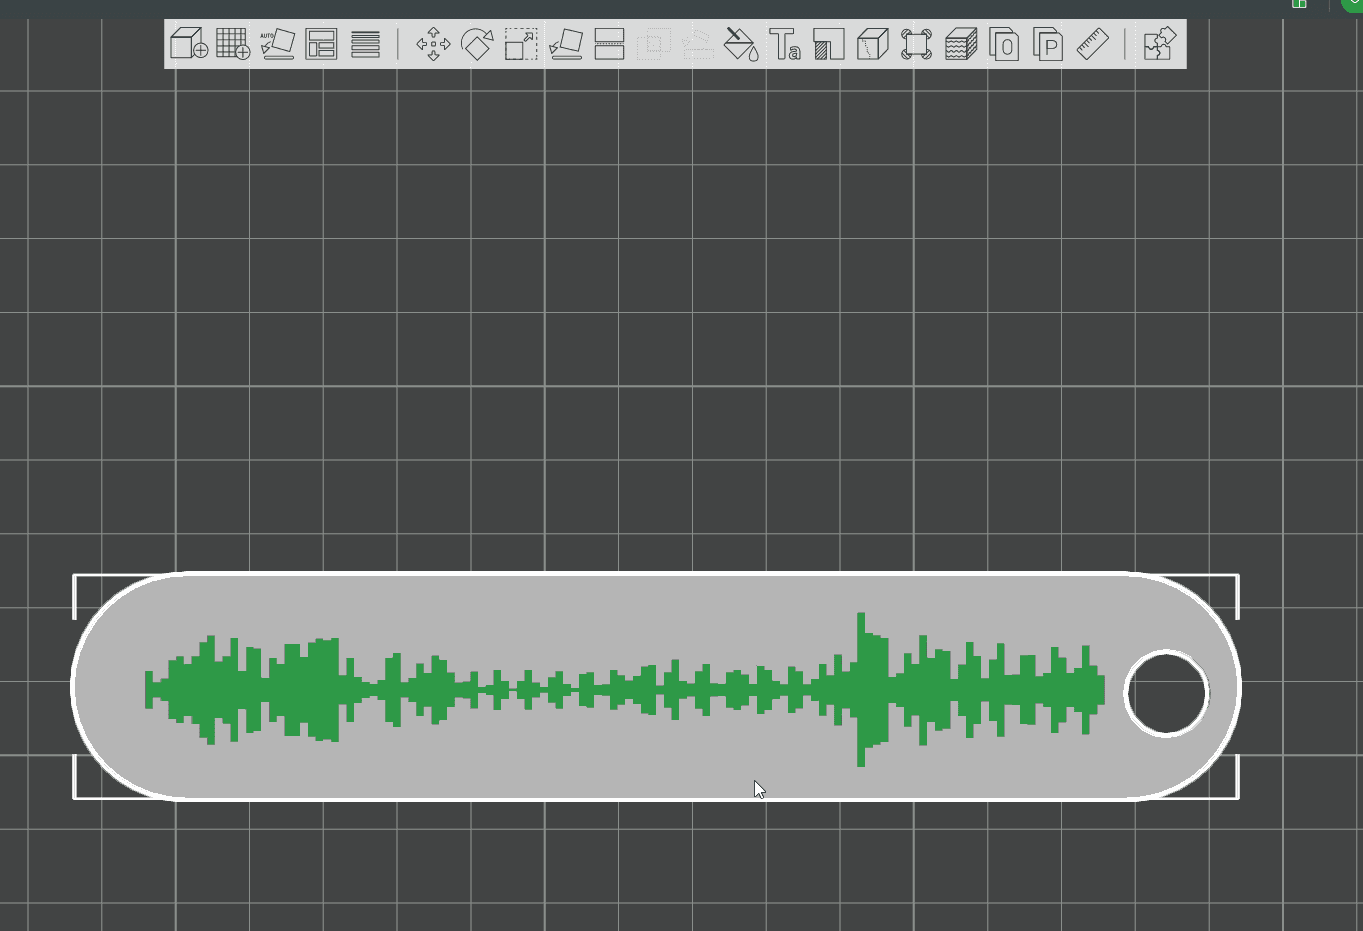
Start with New Design. In Base Mode, click Add Base from Icons / Shapes, open the Holes and Presets tab, and choose a base that fits a wide waveform layout. Capsule Two is usually the easiest starting point because it gives you a long horizontal body and a ready-made keychain hole.
Step 2: Import Audio or Record It
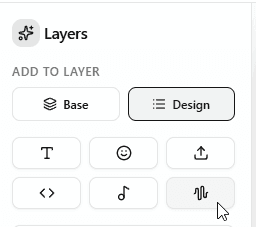
Switch to Design Mode and open the Audio Waveform tool. You can either click Choose Audio to import a file or use Record to capture audio directly.
This is a good point to think about what kind of waveform you want. Spoken words, a short laugh, a single phrase, or a musical moment can all work, but simpler clips usually produce cleaner shapes.
Step 3: Shape the Waveform
Once the file loads, start adjusting the waveform controls. Bar Width and Bar Gap are especially important because they determine whether the waveform reads as a dense, smooth silhouette or a more separated bar pattern.
Keep iterating until the preview has the form you want. If the bars feel too crowded, increase the gap. If the design feels weak or noisy, widen the bars, reduce the total width, or simplify the source clip. Use Remake each time you want to regenerate the preview from your latest settings.
Step 4: Crop, Listen, and Remake Again
After you have a first preview, use the trim controls to crop the section you actually want on the keychain. You can listen to the selected region, reset it, and then hit Remake again to generate a new waveform from the trimmed clip.
This step matters more than most people expect. A good waveform keychain usually comes from a deliberate short segment, not from the entire recording. Trim until the shape looks intentional rather than random.
Step 5: Place It on the Canvas
When the waveform looks right, click Add and place it inside the base shape. Keep enough breathing room around the left and right edges so the waveform reads clearly at print size.
If you are combining the waveform with other design elements, avoid crowding it with icons or long text. The cleaner the layout, the more recognizable the soundwave becomes in the final print.
Step 6: Use Recessed Style If You Want an Embedded Look
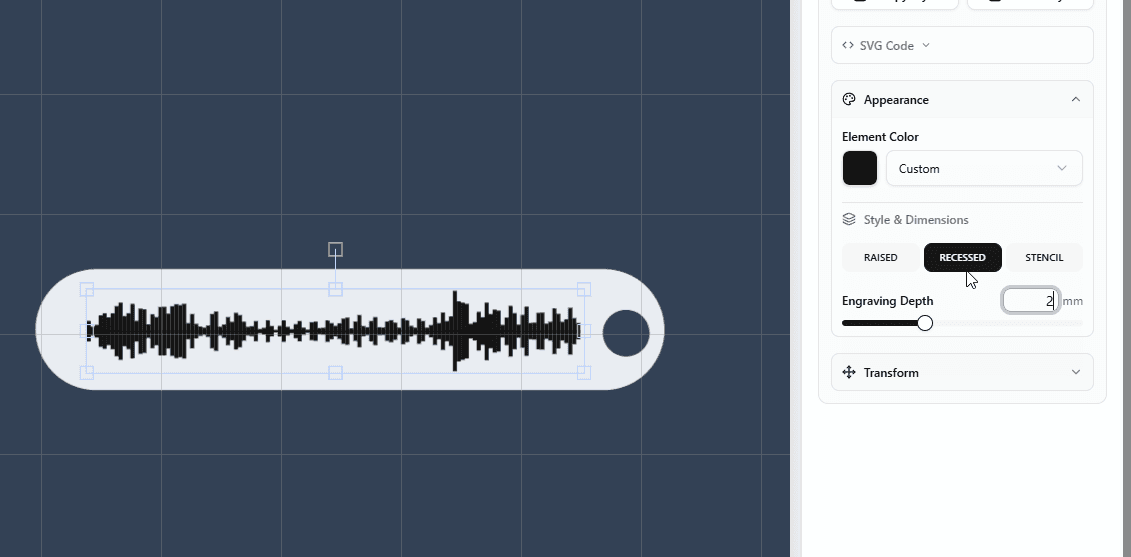
If you want the waveform carved into the base instead of sitting on top, select the waveform element and switch it to Recessed. This is the same approach used for Spotify-style keychains and it works especially well when you want a cleaner, flatter finish.
For the base layer, a thickness of around 4 to 6 mmis a strong starting point. It gives the keychain enough structure while still keeping the overall print compact.
Step 7: Generate, Export, and Print
Click Generate, inspect the result, and download the STL when you are satisfied with the geometry.
Open the STL in your slicer, verify that the waveform bars still read clearly at the final size, and then print a test version. If the print looks too dense, too thin, or too noisy, go back to the waveform tool, adjust the bars or crop, and remake it once more before your final print.
Final Tips
The best waveform keychains are usually simple. Use a short clip, refine the crop, keep the layout open, and do not be afraid to remake the preview a few times. The visual result improves quickly when the clip is short and the bars are tuned for printability instead of pure screen aesthetics.